INSTRUCTIONS
This guide explains where to find the code, how to customize animation parameters like timing and easing, and how to completely remove the script if needed.
Where to Find and Edit the Code
To locate and edit the animation scripts in your project:
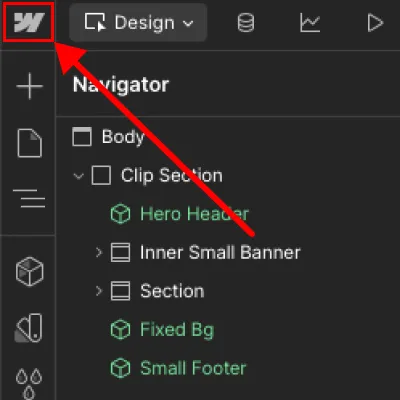
- Go to your Webflow project
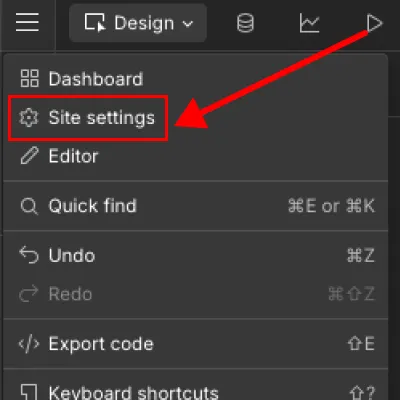
- Click on “Site Settings”
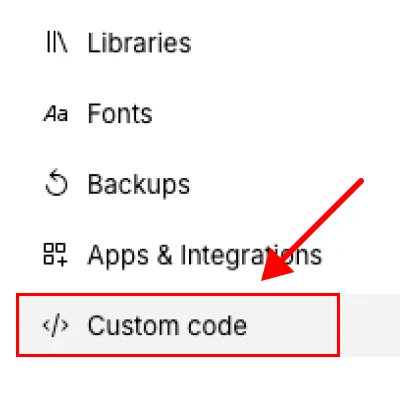
- Navigate to the “Custom Code” tab
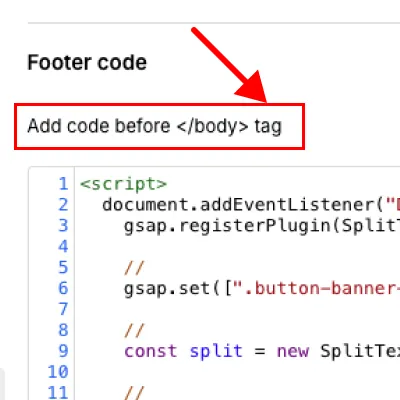
- Scroll down to the
“Before </body> tag”section - Paste or edit the script there
- Click Save Changes
- Publish your site to see the effects
How to Edit GSAP Animations
animations functions and how to edit and remove them.
introAnim() function Runs the site intro on page load, animating the nav logo into place and revealing the hero content. Behavior differs on mobile vs desktop.
// Nav logo letter stagger and speed (default: 0.1s stagger, 0.6s duration, desktop only)
introTl.fromTo(navText.chars, { yPercent: 120 }, { yPercent: 0, stagger: 0.1, duration: 0.6 });

// Nav logo scale down speed (default: 0.5s)
introTl.to(navLogoWrapper, { y: 0, duration: 0.5 });

// Nav items blur in duration (default: uses power2 ease, no explicit duration set)
introTl.to(navBlurItems, { opacity: 1, filter: "blur(0px)", ease: "power2" }, "-=.15");
- Comment out the
introAnim()call in theDOMContentLoadedlistener. - Also remove the
gsap.set(".section.about", { opacity: 0 })line,
otherwise the about section will stay invisible with no timeline left to fade it back in. - Save and republish.
Nav logo and menu items appear instantly in their final position.
heroGalleryAnim() function Loops through hero gallery images with a reveal transition, syncing the title and year text to fade with each slide change.
// Slide reveal speed (default: 0.8s)
loopTl.to(incomingEls, { clipPath: "inset(0%)", duration: 0.8, ease: "expo.inOut" });

// Title and year fade speed (default: 0.25s)
loopTl.to([titles[currentIndex], years[currentIndex]], { opacity: 1, scale: 1, duration: 0.25 });

// Hold time on each slide before advancing (default: 1.5s)
loopTl.to({}, {}, "+=1.5");- Comment out the
heroGalleryAnim()call in theDOMContentLoadedlistener. - Save and republish.
Gallery stays frozen on its first slide. Titles and years remain static with no fade transitions.
signRevealAnim() function Reveals sign elements with a diagonal clip path wipe as they scroll into view.
// Reveal speed (default: 2.5s)
gsap.to(sign, { clipPath: "polygon(0% 0%, 100% 0%, 100% 100%, 0% 100%)", duration: 2.5 });

// Scroll trigger start point (default: "top bottom")
scrollTrigger: { trigger: sign, start: "top bottom" }- Comment out the
signRevealAnim()call in thewindow.addEventListener("load", ...)block. - Set the
.sign-revealelements to their final clip path state in Webflow, or addgsap.set(".sign-reveal", { clipPath: "polygon(0% 0%, 100% 0%, 100% 100%, 0% 100%)" });so they don't stay hidden. - Save and republish.
Sign elements stay hidden (clipped to nothing) unless the fallback set above is added, in which case they appear instantly in their final revealed state.
buttonAnim() function Fills buttons with an overlay on hover, expanding on mouse enter and retracting on mouse leave.
// Fill speed (default: 0.4s)
gsap.to(overlay, { width: "100%", duration: 0.4, ease: "power2" });

// Applies to both .button and .button-submit-wrapper elements
gsap.utils.toArray(".button, .button-submit-wrapper")- Comment out the
buttonAnim()call in theDOMContentLoadedlistener. - Save and republish.
Button overlay no longer fills on hover.
textSlideUp() function Splits text blocks into lines and slides each line up into view as it scrolls into the viewport.
// Line stagger and speed (default: 0.08s stagger, 0.6s duration)
gsap.from(splitAllText.lines, { yPercent: 120, stagger: 0.08, duration: 0.6 });

// Scroll trigger start point (default: "top 85%" desktop, "top 90%" below desktop)
scrollTrigger: { start: belowDesktop ? "top 90%" : "top 85%" }- Comment out the
textSlideUp()call inside themm.add(breakpoints, ...)block. - Save and republish.
Text blocks appear instantly in their final position instead of sliding up. Lines are no longer split.
IMPORTANT
Do create Backup of this project right after you've purchased it so you can always revert back in case something goes wrong. Here's how to do it.
Always test changes on a duplicated version of your project. Animation values like duration, ease, and stagger can significantly affect the user experience. Experiment and preview in Webflow!
To give you more confidence and control in your deployment, Webflow launched site previews with custom code. This allows you to preview the effects of any custom code before publishing it on your Webflow site — including animations written with GSAP.
